How many times have you suffered through a GoPro video online that’s overwhelmed with loud and distracting wind noise? They are really hard to watch.
You can turn off the audio on your GoPro when recording or mute the audio from the captured video, but you really lose the feel for the experience, the sounds of the bike engine, the sense of movement, the atmosphere that makes for a good video. You’ve probably also enjoyed videos narrated from the bike while riding. Again, you can dub in narration later but you lose the spontaneity of the experience, the live response to what’s happening, and it sounds artificial.
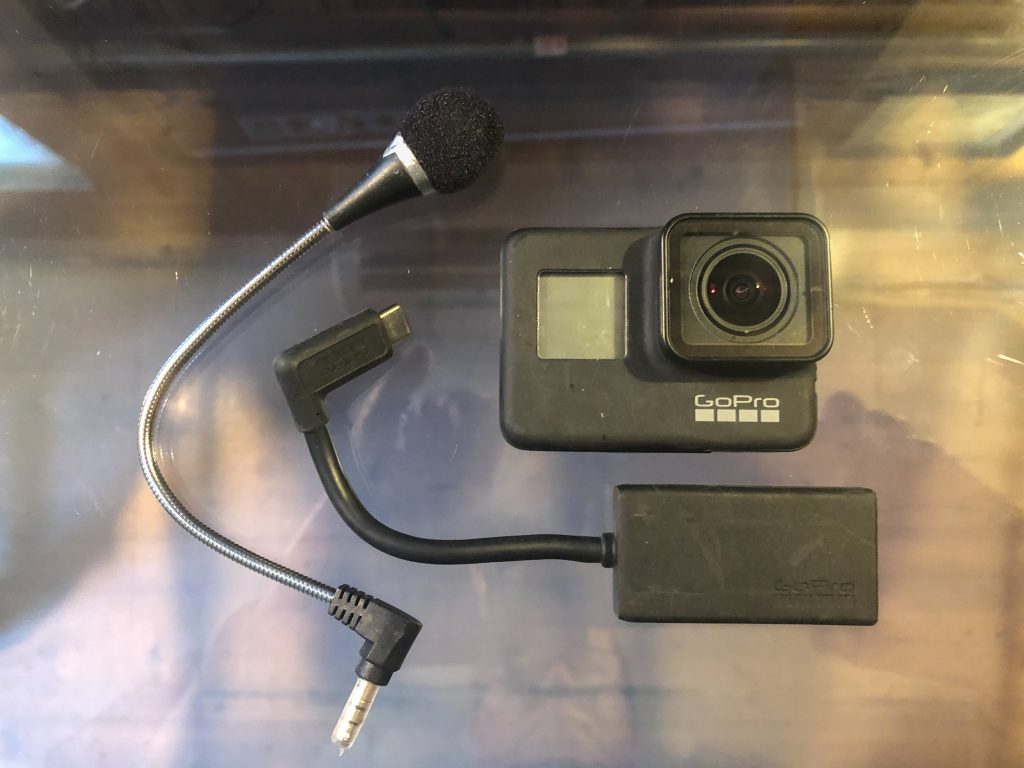
Basic VLOGGING Gear with GoPro
The answer to these problems is a Vlogging setup. You need three main components – the camera, a microphone, a microphone adapter for the camera, and of course a variety of mounts to position the camera correctly on your helmet (how to do that will be covered in another article). The video quality of the newer GoPro cameras is quite an improvement over the earlier ones, I’m using a GoPro 7. You will need to remove the little door over the microphone / power sockets on the camera, it can be reinstalled later if the camera is needed for other uses. You don’t need a high quality microphone. I use very inexpensive Chinese flexible boom mics that come in packs of 3, 10, etc. It’s no big deal when I lose one or it succumbs to the environment, I carry spares and just pop on another. The rub is the microphone adapter for later model GoPros – you can’t plug a microphone directly into the camera. The adapter is big and unwieldy, they cost $50 or more, you don’t want one of those going missing.
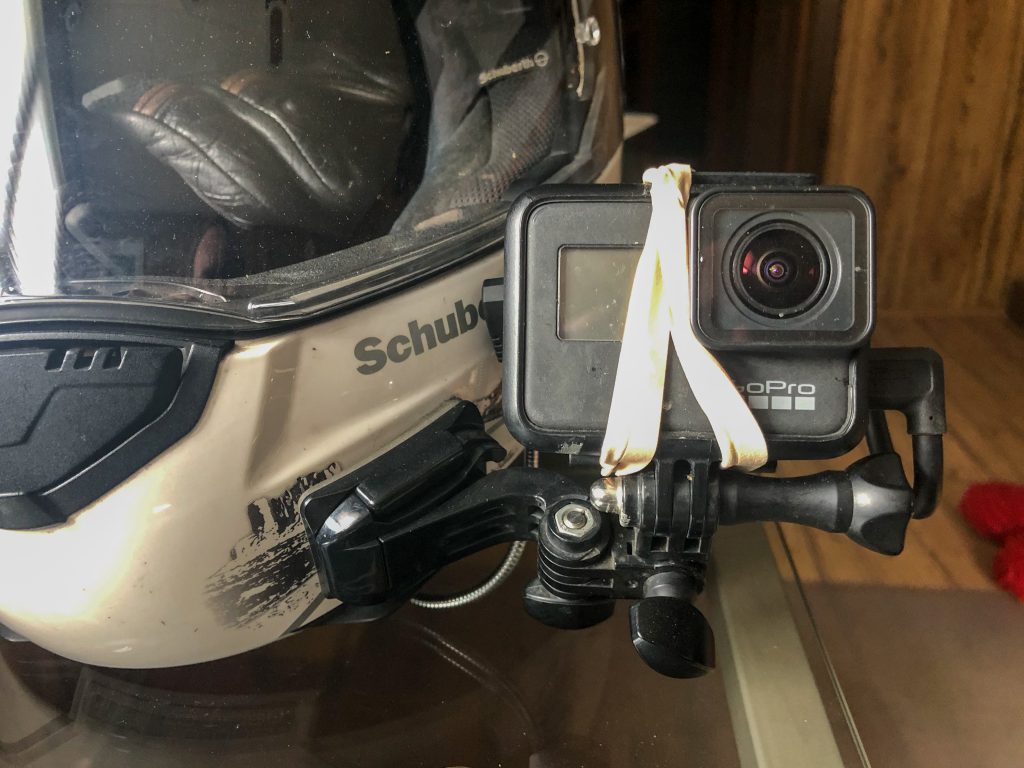
Using Rubber Bands to Mount the Microphone Adapter
The crux of this article is how to deal with that bulky GoPro microphone adapter. Until recently the simplest solution I found was to use rubber bands to strap it to the back of the camera. While it works, it’s an awkward remedy.
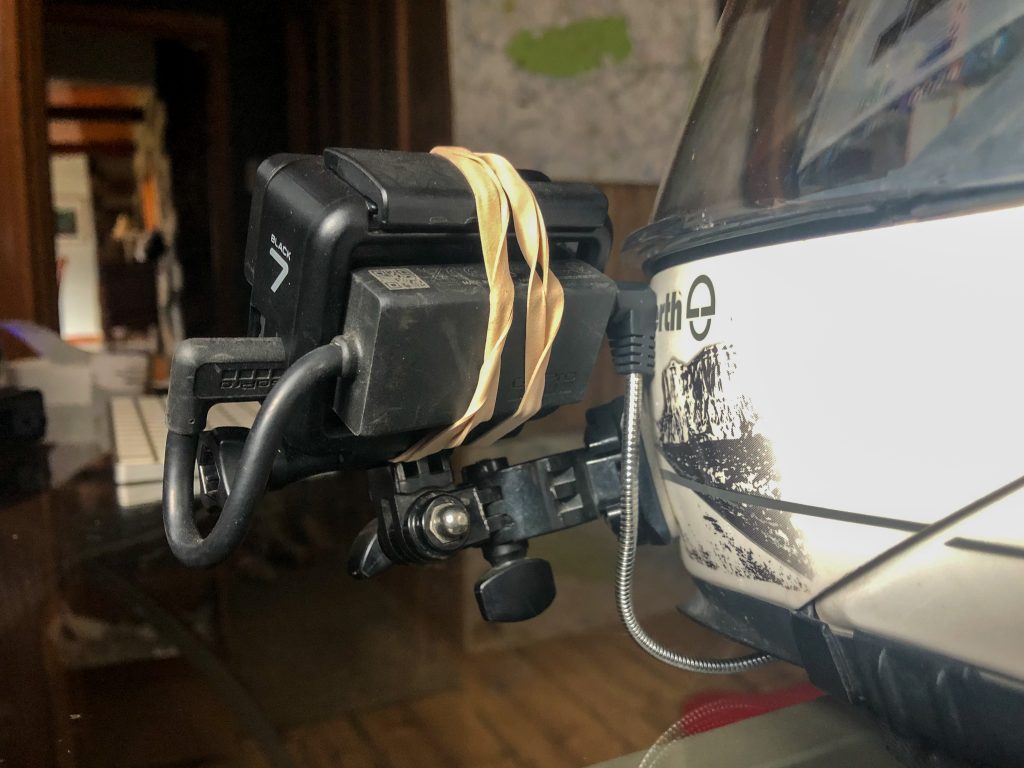
GoPro Microphone Adapter mounted with rubber bands covers the rear touch screen
Mounted with rubber bands the adapter covers the view screen on the rear of the camera, you can’t see it. That makes it tough to insure the camera angle is correct or access the touchscreen camera functions. You can’t see if the camera is turned on. The rubber bands don’t last long out in the weather, they are prone to fail, hence I use two and replace them frequently. Rubber bands also look ugly and cheap.
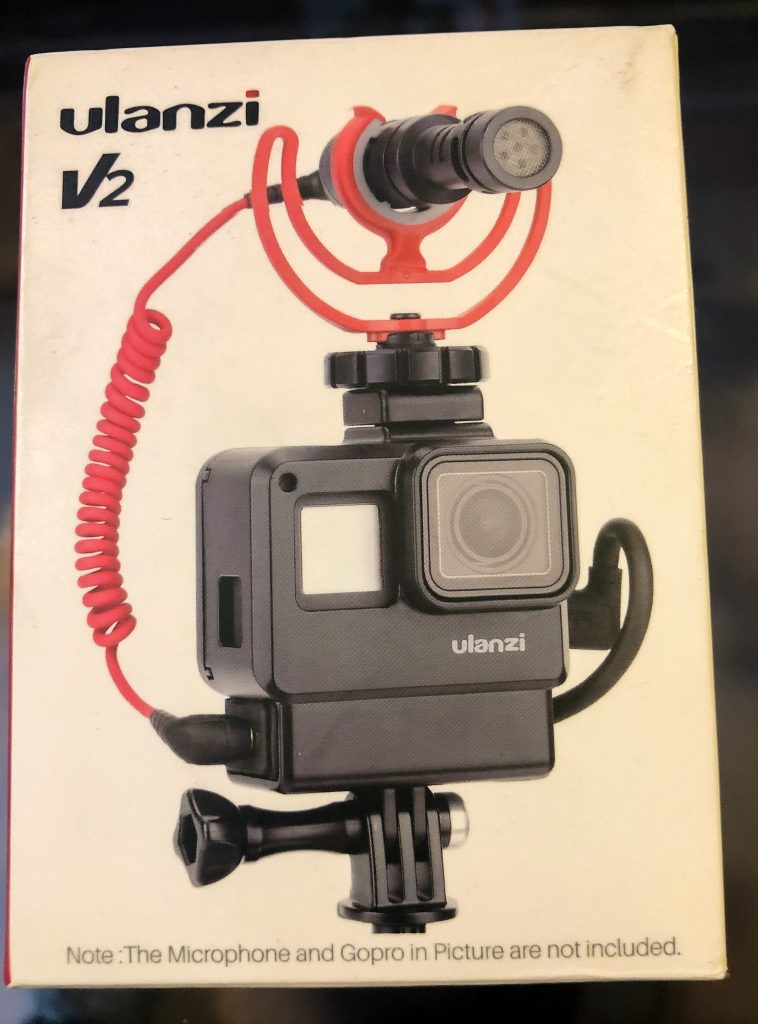
Ulanzi V2 Vlogging Case for Gopro Cameras
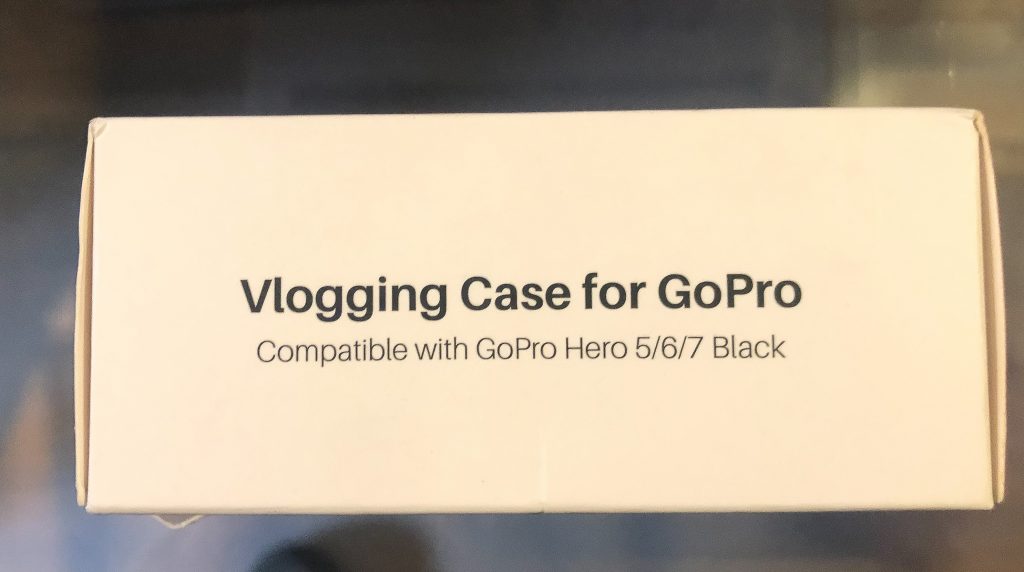
Ulanzi V2 Vlogging Case for Gopro Cameras
The Ulanzi V2 Vlogging case for Gopro cameras solves this problem.
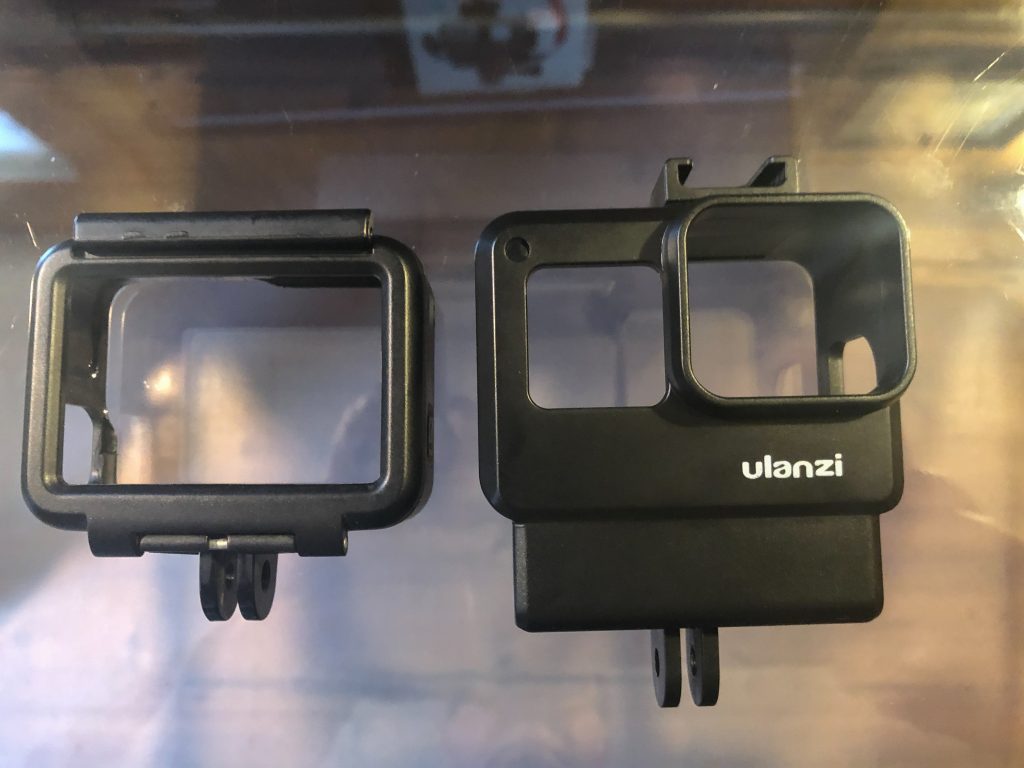
Standard GoPro case / Ulanzi Case
The Ulanzi case replaces your standard GoPro housing. There is a slot under the case for the microphone adapter, it slides in snug and secure. Pass the cable through and it is easy to plug it into the camera port. The other end of the slot is open so the microphone plugs right in.
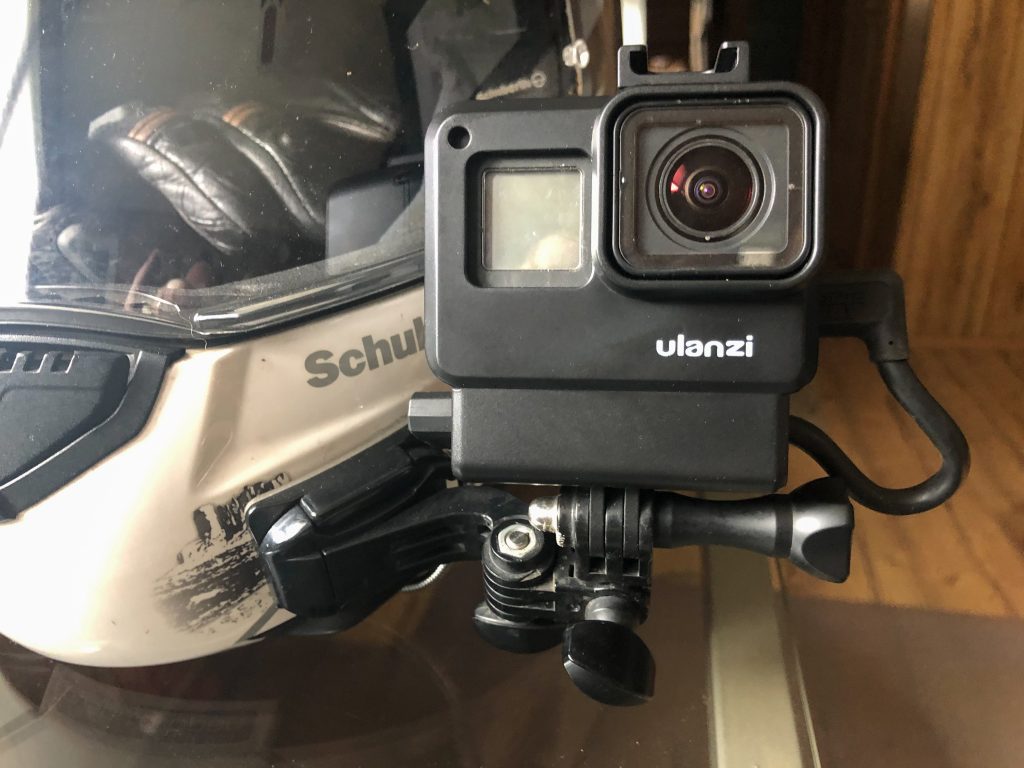
Ulanzi GoPro case on the helmet
The Ulanzi case is taller due to the added adapter slot. In my case it raised the camera case away from the helmet which gives more more flexibility and range of movement for positioning the camera. This is a much cleaner, more secure, professional look.
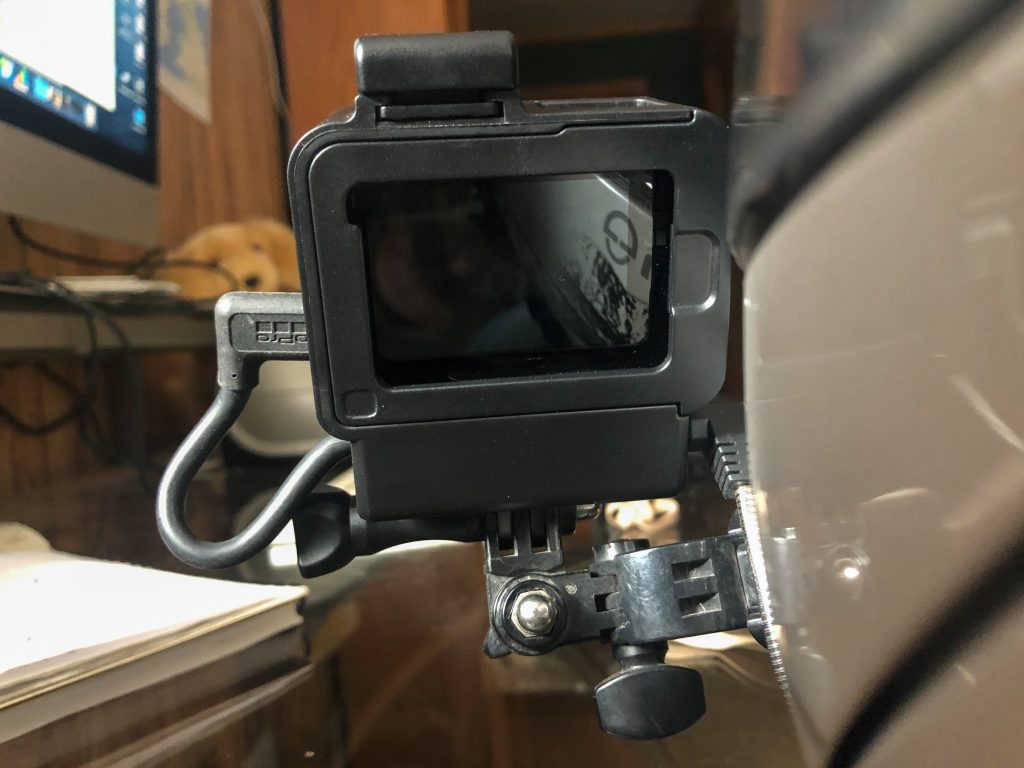
Ulanzi Gopro Case rear view
The new case also brings the rear camera screen more into my line of sight which is helpful. There is a removable shoe atop the case for mounting a microphone or other accessories, I leave that home. The rear door of the Ulanzi case slides on with a simple click lock instead of the hinged door of the standard case.
I’m pretty happy with this Ulanzi V2 Gopro Case. I found it online from Walmart for about $15 though the link below has it listed on Amazon for $9.95. Ulanzi also makes the V3 housing which is aluminum and has more features for about $45. https://www.ulanzi.com/products/v2-protective-housing-case-ulanzi
Wayne Busch – AMERICA RIDES MAPS
Wayne Busch
Posted by Wayne Busch, America Rides Maps
See examples of Vlogging at http://Youtube.com/americaridesmaps
Find America Rides Maps motorcycle ride maps at AmericaRidesMaps.com

Thanks for the info on Gopro cameras and editing accessories. Getting a hero 8 black is on my list this summer. Watching videos of people editing will be a learning experience for me but I want to learn how to do it.
It is a constant learning process through many, many mistakes and failures. It never goes perfectly. The magic comes in the editing, to work with what you have.